If you want to buy GM parts, check this link for some sources.
Video showing the working parts of the regulator. (the motor is removed and view is from the outside [the door skin has been cut out])

START |
Click the icon at left to begin R&R walkthrough or click any picture to go directly to that step
~Now including RH door pics~ |
|
Access switch panel
|

|
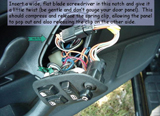
Unplug switch panel
|
|
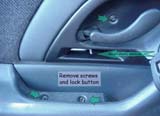
Remove lock knob and screws
|

|
Complete screw removal
|
|
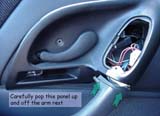
Remove door handle panel
|
|
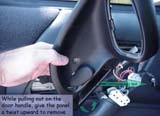
Complete panel removal
|
|
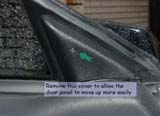
Remove cover
|

|
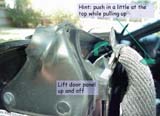
Remove door panel
|
|
Complete door panel removal
|
|
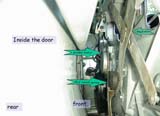
Internal door hardware
|
|
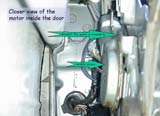
Motor close-up
|

|
Unplug power connector
|

|
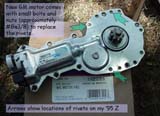
Motor mounting locations
|
|
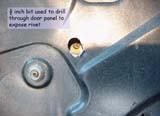
Upper rivet location detail
|
|
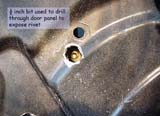
Middle and lower rivet locations detail
|
|
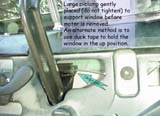
Window support
|
|
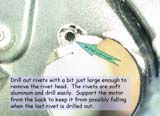
Drill out rivets
|
|
New motor
|
|
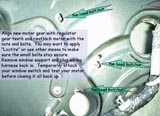
Attach new motor
|
|
Reverse to reinstall panels and covers
|